In this short but detailed guide, we will learn how to create and test our first app dedicated to verifying the end-user’s phone number and test it with writing no code.
Let’s imagine that you just registered your account in WhatsAuth and all you want is to make it work and to implement WhatsApp verification, login, OTP whatever purpose you have in mind in your system. Let’s do it!
First, you need to create an app. The app represents one purpose application of phone verification. It could be the app that will be used to login users to your platform, another one to provide OTP in your platform, and so on.
Go to the apps section of the side menu.

And create one by clicking on the “+” button.
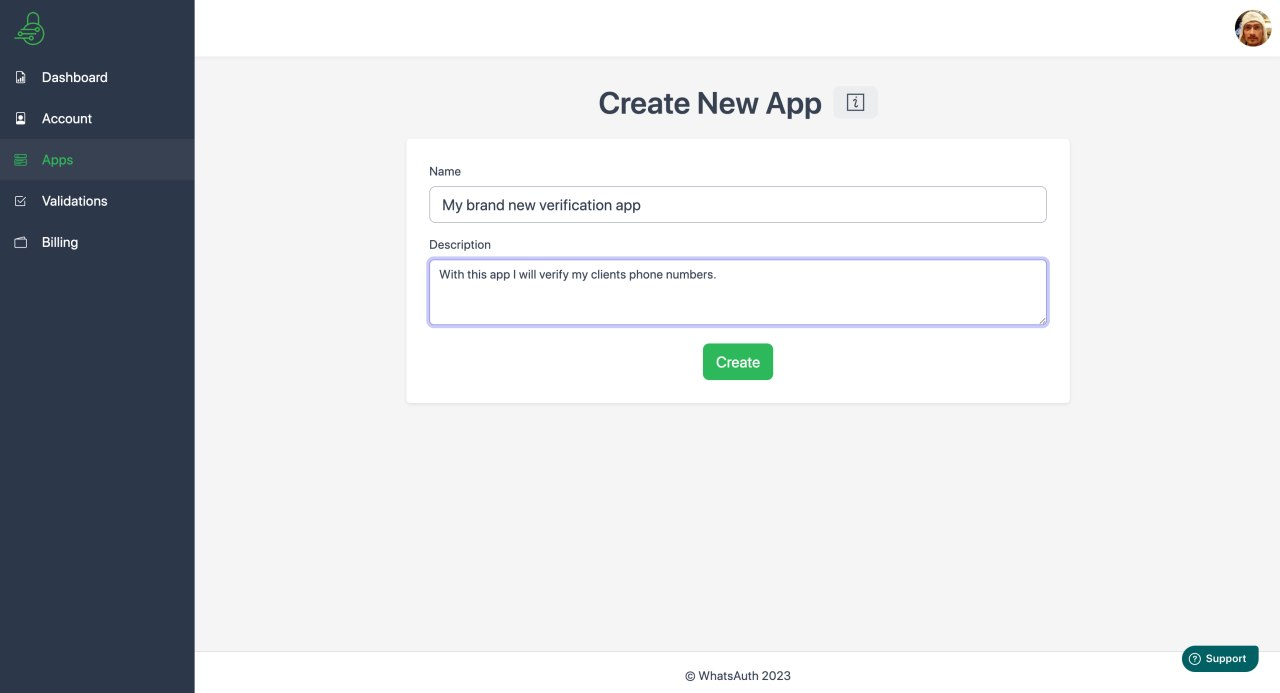
Type a name and description (you can change it later ?). Click “Create” and you are done.

As you can see the fresh app is disabled by default just to prevent its undesirable usage. Let’s go inside by clicking on “Show”.

Here we got several sections that reflect different parts of the app’s settings. The first one has the name and description that we put on the creation step and to switches: enabled and sandbox.
As I mentioned above the enabled switch controls the general availability of the app, its purpose is to turn the app completely off, no activity, no payment charge, nothing. Any request with this app’s token will be simply rejected by the platform.

The sandbox switch is slightly different. It just prevents apps from sending response messages to end-users by WhatsApp, which is the most expensive part of WhatsApp messaging. Turning on this mode is perfect for testing your app without extra charges.

The second section is very important for us because it contains the app’s API token which is a key part of the communication with the WhatsAuth core platform. We will need this token in every request to the API. If the API token was compromised you should refresh it to prevent your app from malicious usage.
One of the most important parts of using WhatsAuth is to generate a verification code by making a request to the API. This request supports a lot of configuration parameters to be able to adjust one particular verification instance as you want. Here you can see the documentation (LINK). But what if you want your app to have some default configuration applied to your app? The third section of the edit page helps you with this.

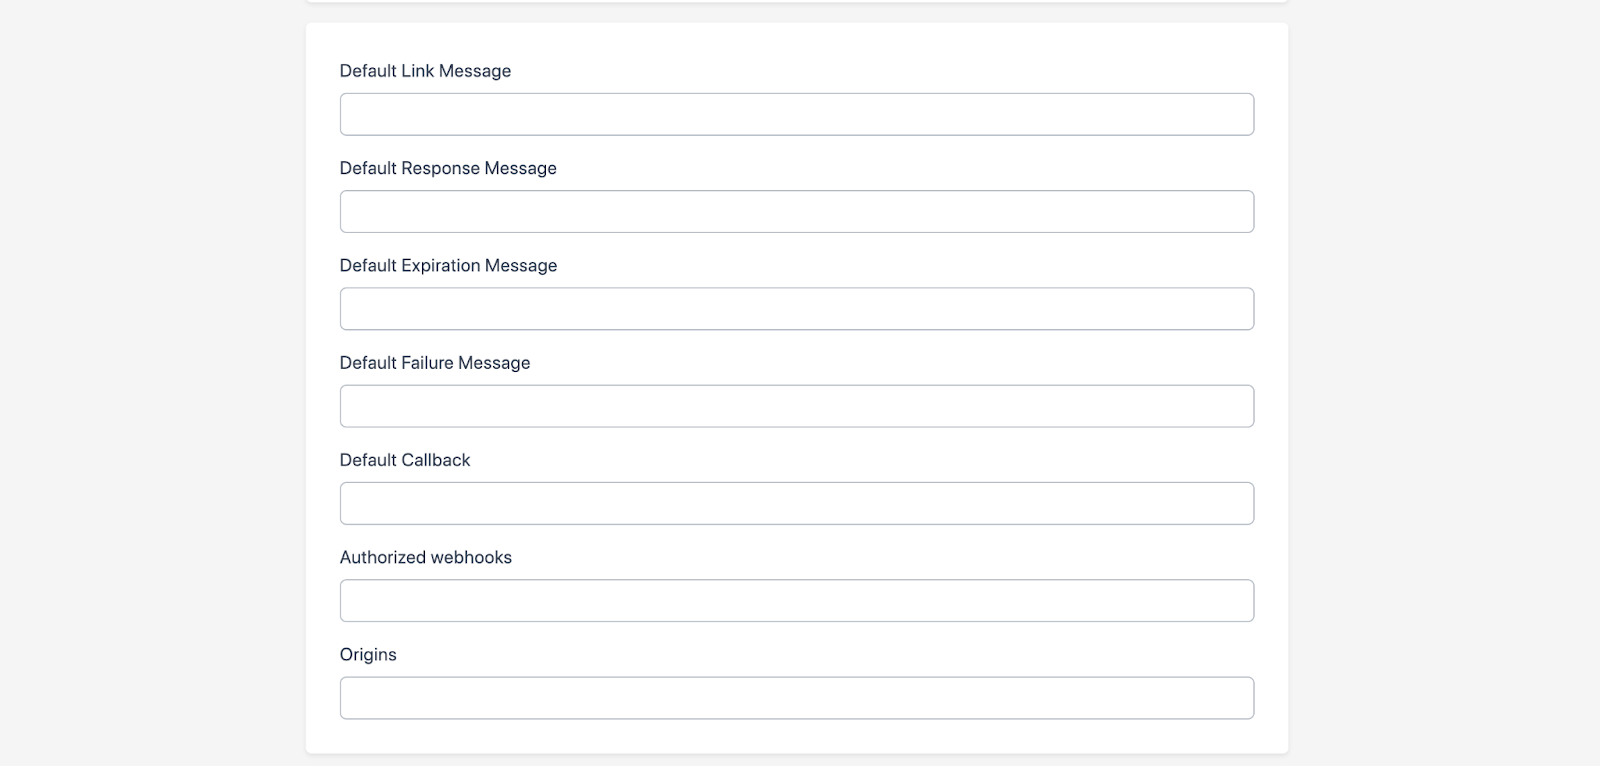
Default Values Here you can predefine all types of messages flying on during the phone validation process. Here you can put the default callback where the verification updates will be posted to. Also you can put the list of authorized callbacks and web origins to make your app more safe.

An important thing to remember: parameters you send on the code generation request always have more priority over the defaults.
Now let’s copy the API token. We will use it very soon!

Then enable the app and press save.
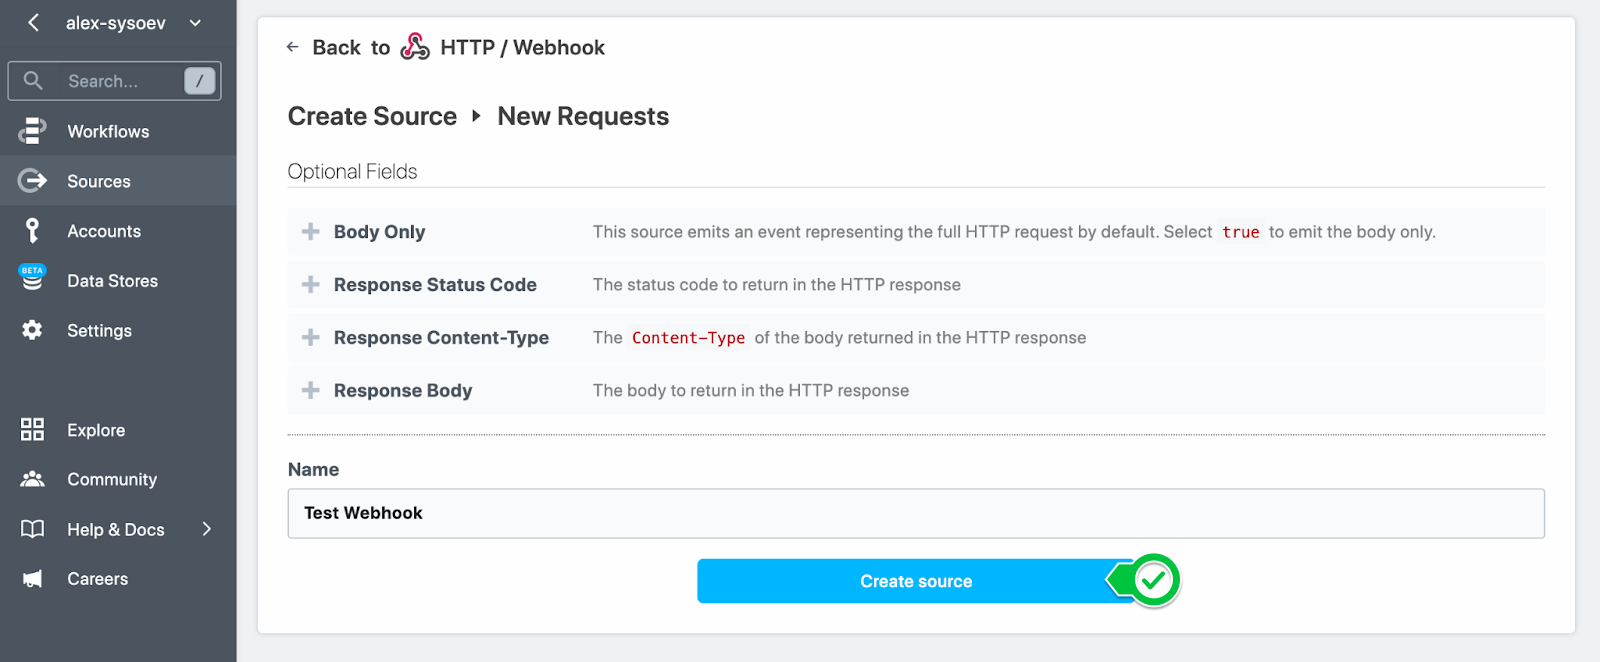
Now, when you have your app enabled and configured, you need a webhook that will capture the verification. Personally, I used the https://pipedream.com/ service, it’s very easy to create a webhook there.

It is important that your webhook responds to the platform with something pleasant as 200 or 204 ideally.
You are ready to generate your first verification code by passing through some configuration.
curl --location --request GET 'https://whatsauth.me/api/v1/verification_code?callback_url=https://453db573fa5d01ad3b709642c090c202.m.pipedream.net&expiration_message=Expired&failure_message=Failed to communicate with backend service.&response_message=Validated&expires_at=5&link_message=Verify my phone number with the following code:' \

--header 'Authorization: Bearer n4zeTOPs3lPp7pjc4yXIeQBt97OYAKWj'
If everything goes well the platform will respond with something similar to the following.
{
   "code": "3220ce4f11",
   "link": "https://wa.me/+56943426553?text=Verify%20my%20phone%20number%20with%20the%20following%20code:%0A%0A%60%60%60--------------%0A%7C%203220ce4f11%20%7C%0A--------------%60%60%60"
}
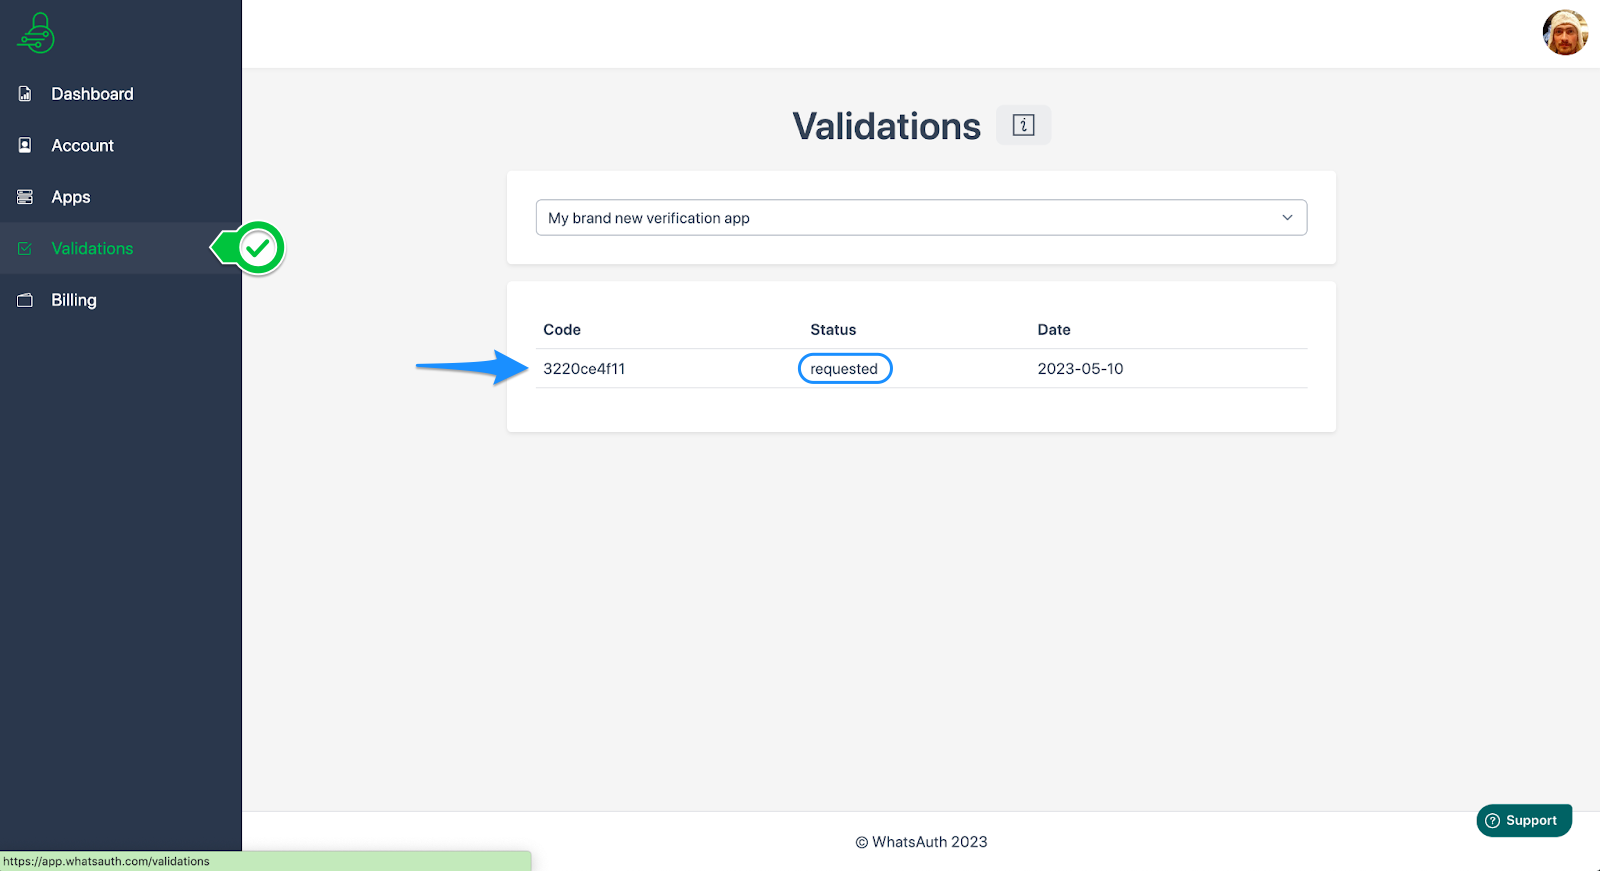
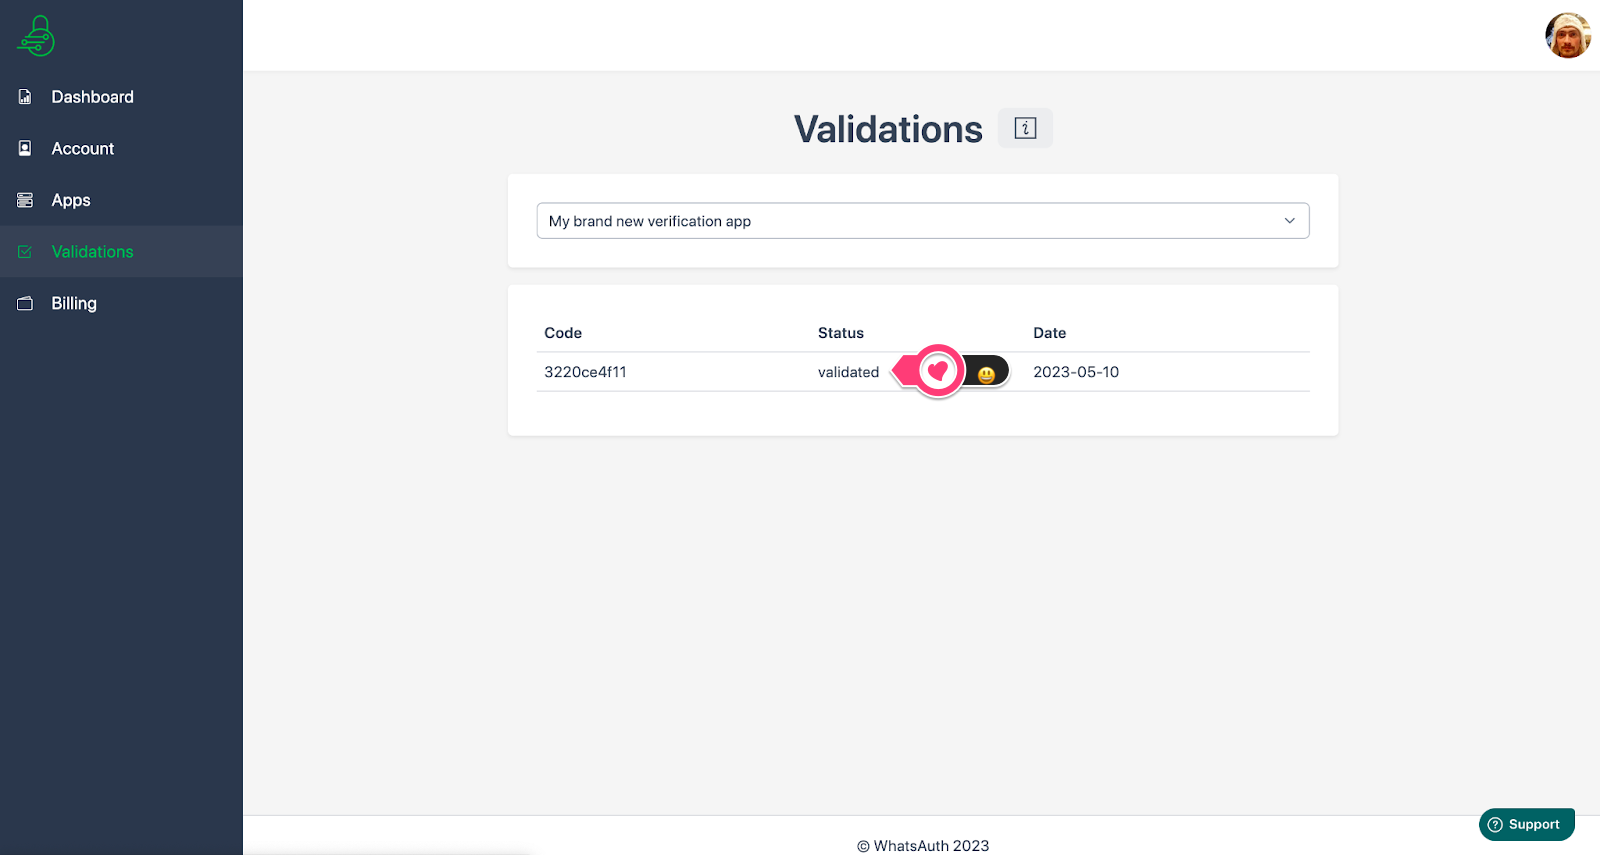
Let’s go to the validations section and see what we have.
Follow the link and send the code by whatsapp.
No matter if you put a response message or not if your app is in sandbox mode it will not be sent but go to and refresh your validation - it changes the state, now it is validated.
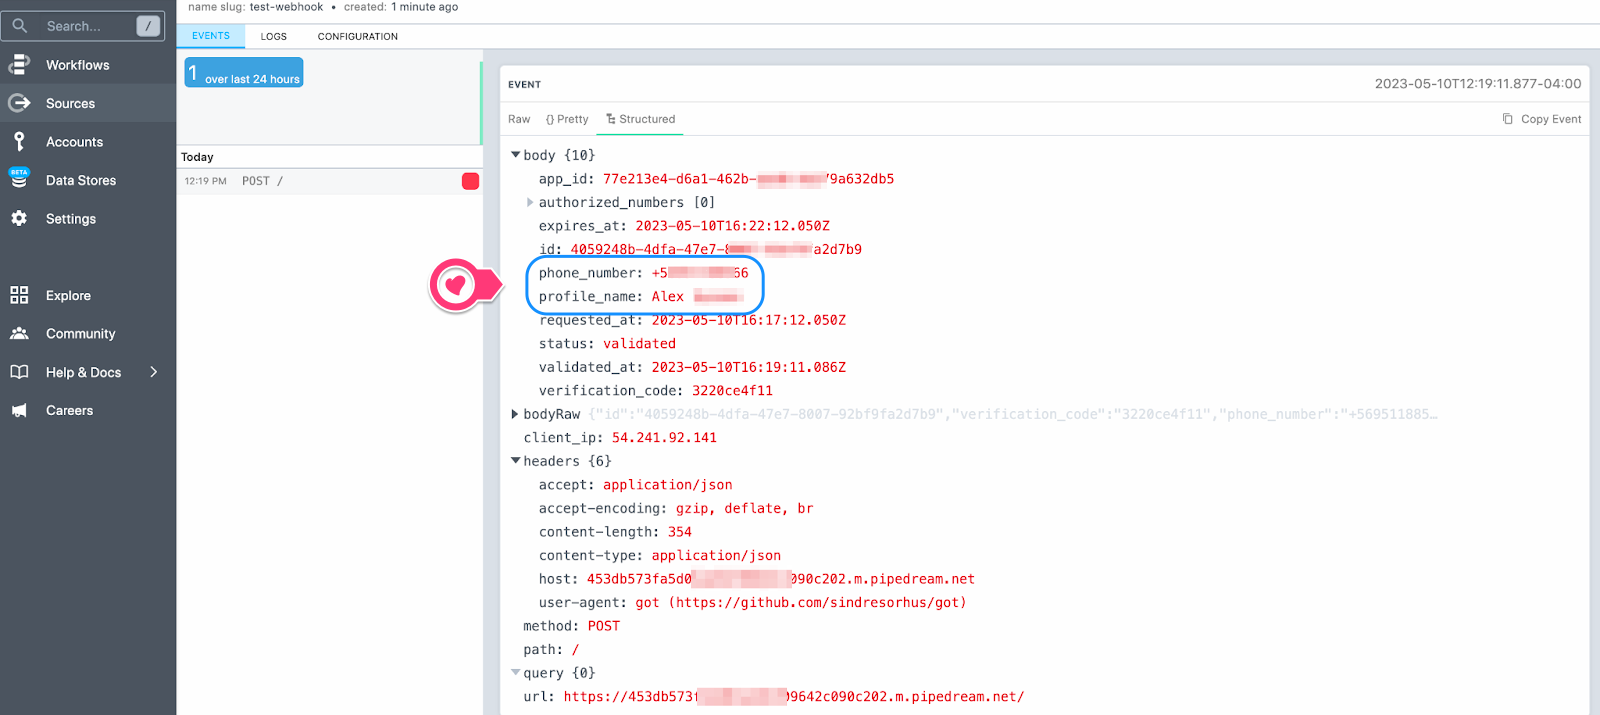
Let’s check the webhook, here we have all the data associated. Valid phone number, whatsapp profile name and the verification status.
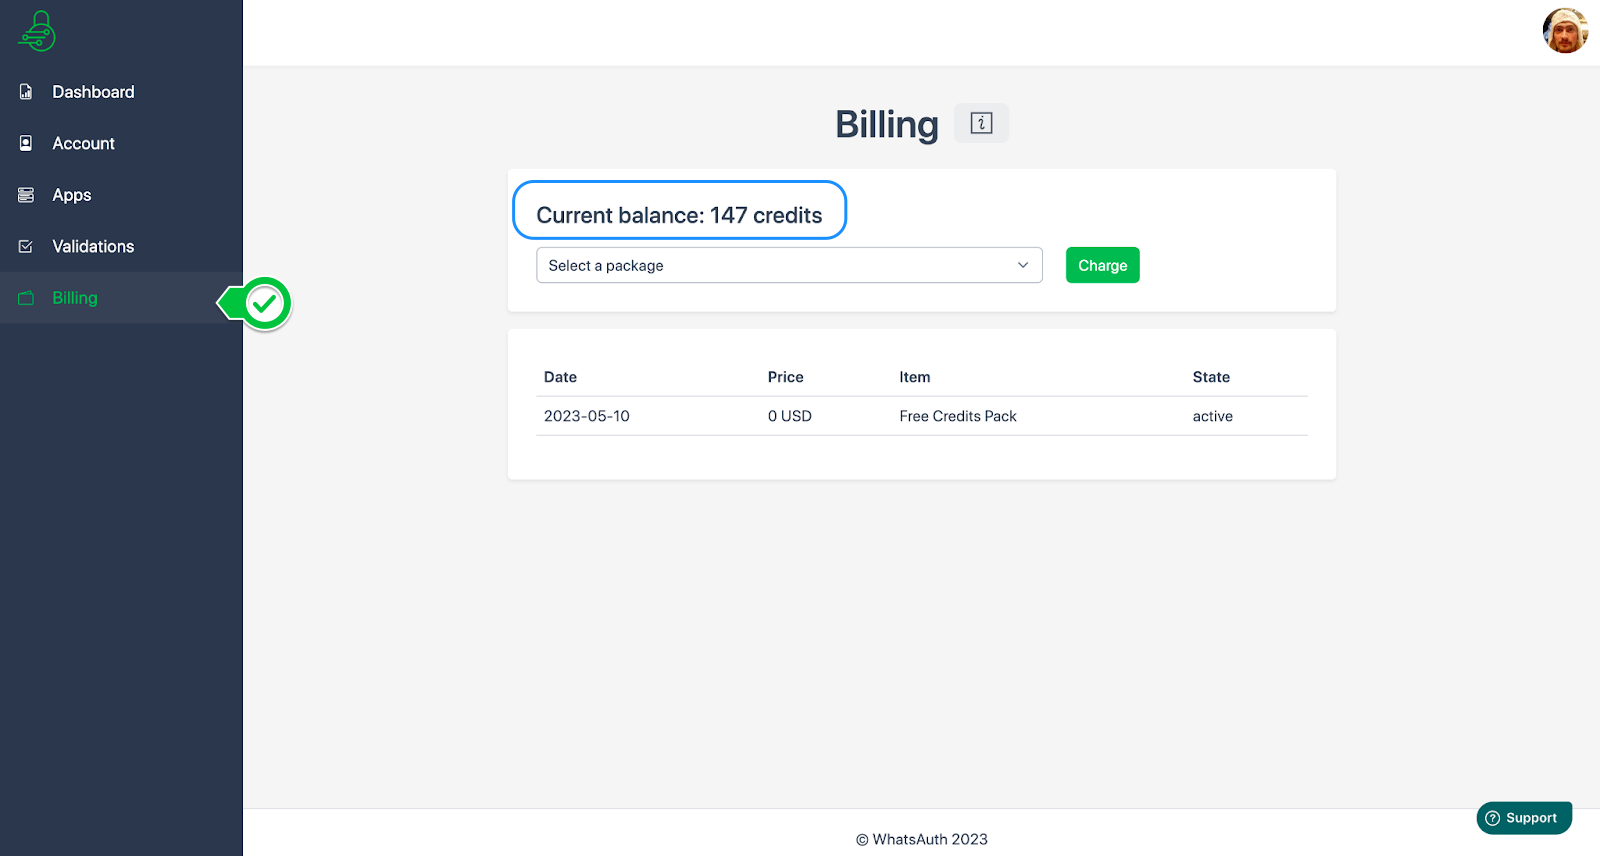
For this simple phone validation we spent 3 credits. 3 of the 150 Free credits that you obtain on creating your account.
That’s it. Hope that guide helped you to understand and test this smooth flow we created to simplify your job and improve your client’s experience.