WhatsAuth Form Validator
The WhatsAuth Form Validator is a JavaScript library that enhances web forms by adding phone number validation using WhatsAuth. It improves data quality by ensuring that the entered phone numbers are valid and verified.
Installation
Include the WhatsAuth Form Validator script in your HTML file:
<script src="https://static.whatsauth.com/plugins/whatsauth-form/latest/validator.js"></script>
Usage
To initialize the WhatsAuth Form Validator, use the following code:
window.$WhatsAuthForm.init({
  inputSelector: "#phone_field",
  apiKey: "YOUR_API_KEY",
  description: "Scan this QR or press link to continue."
});
Configuration Options
The init function accepts an object with the following properties:
| Property | Type | Required | Description |
|---|---|---|---|
inputSelector | string | Yes | CSS selector for the phone number input field |
apiKey | string | Yes | Your WhatsAuth API key |
description | string | No | Custom message to display in the validation popup |
expiresIn | number | No | Expiration time for the validation code in minutes. Defaults to 5 |
linkMessage | string | No | Custom message for the WhatsApp link |
primaryColor | string | No | Primary color for UI elements. Defaults to “#2ecc71” |
secondaryColor | string | No | Secondary color for UI elements. Defaults to “grey” |
btnText | string | No | Text for the WhatsApp button. Defaults to “Open WhatsApp” |
placeholder | string | No | Placeholder text for the input field |
How It Works
- The library transforms the specified input field into a read-only field with a click event.
- When the user clicks on the input field, a popup appears with a QR code (if enabled) and a button to open WhatsApp.
- The user scans the QR code or clicks the button to validate their phone number through WhatsApp.
- Once validated, the phone number is automatically filled in the input field.
- The form submission is handled by the default behavior.
If you want the phone number to be mandatory, simply add the required attribute to the original form input.
Example
Here’s an example of how to use the WhatsAuth Form Validator in an HTML form:
<!DOCTYPE html>
<html lang="en">
<head>
    <meta charset="UTF-8">
    <meta name="viewport" content="width=device-width, initial-scale=1.0">
    <title>WhatsAuth Form Example</title>
    <style>
        body {
            font-family: Arial, sans-serif;
            line-height: 1.6;
            margin: 0;
            padding: 20px;
            background-color: #f4f4f4;
        }
    </style>
    <!-- Include the WhatsAuth Form Validator script -->
    <script src="https://static.whatsauth.com/plugins/whatsauth-form/latest/validator.js"></script>
</head>
<body>
    <div class="container">
        <h1>Contact Form</h1>
        <form id="contactForm">
            <label for="name">Name:</label>
            <input type="text" id="name" name="name" required>

            <label for="email">Email:</label>
            <input type="email" id="email" name="email" required>

            <label for="phone">Phone Number:</label>
            <input type="tel" id="phone_field" name="phone" required>

            <button type="submit">Submit</button>
        </form>
    </div>
    <!-- Initialize the WhatsAuth Form Validator -->
    <script>
        window.$WhatsAuthForm.init({
            inputSelector: "#phone_field", // ID selector
            apiKey: "YOUR_API_KEY",
            description: "Please verify your phone number to continue.",
            placeholder: "Click to validate your phone number",
            primaryColor: "#2ecc71",
            secondaryColor: "#27ae60",
            btnText: "Verify via WhatsApp"
        });
    </script>
</body>
</html>
Input Selector Common cases
The inputSelector option allows you to specify which input field should be enhanced with WhatsAuth validation. You can use various CSS selectors to target the desired input element:
- ID selector:
"#phone_number" - Class selector:
".phone-input" - Attribute selector:
"input[name='phone']" - Nested selector:
"form#contact-form input[type='tel']"
Choose the selector that best fits your HTML structure and ensures you’re targeting the correct input field for phone number validation.
This setup will enhance the phone number input field with WhatsAuth validation, improving the quality of submitted data by ensuring that only verified phone numbers are accepted.
Visual Example
To give you a better idea of how the WhatsAuth Form Validator looks when integrated into your web form, here’s a visual example:
- The standard form fields (Name, Email, etc.)
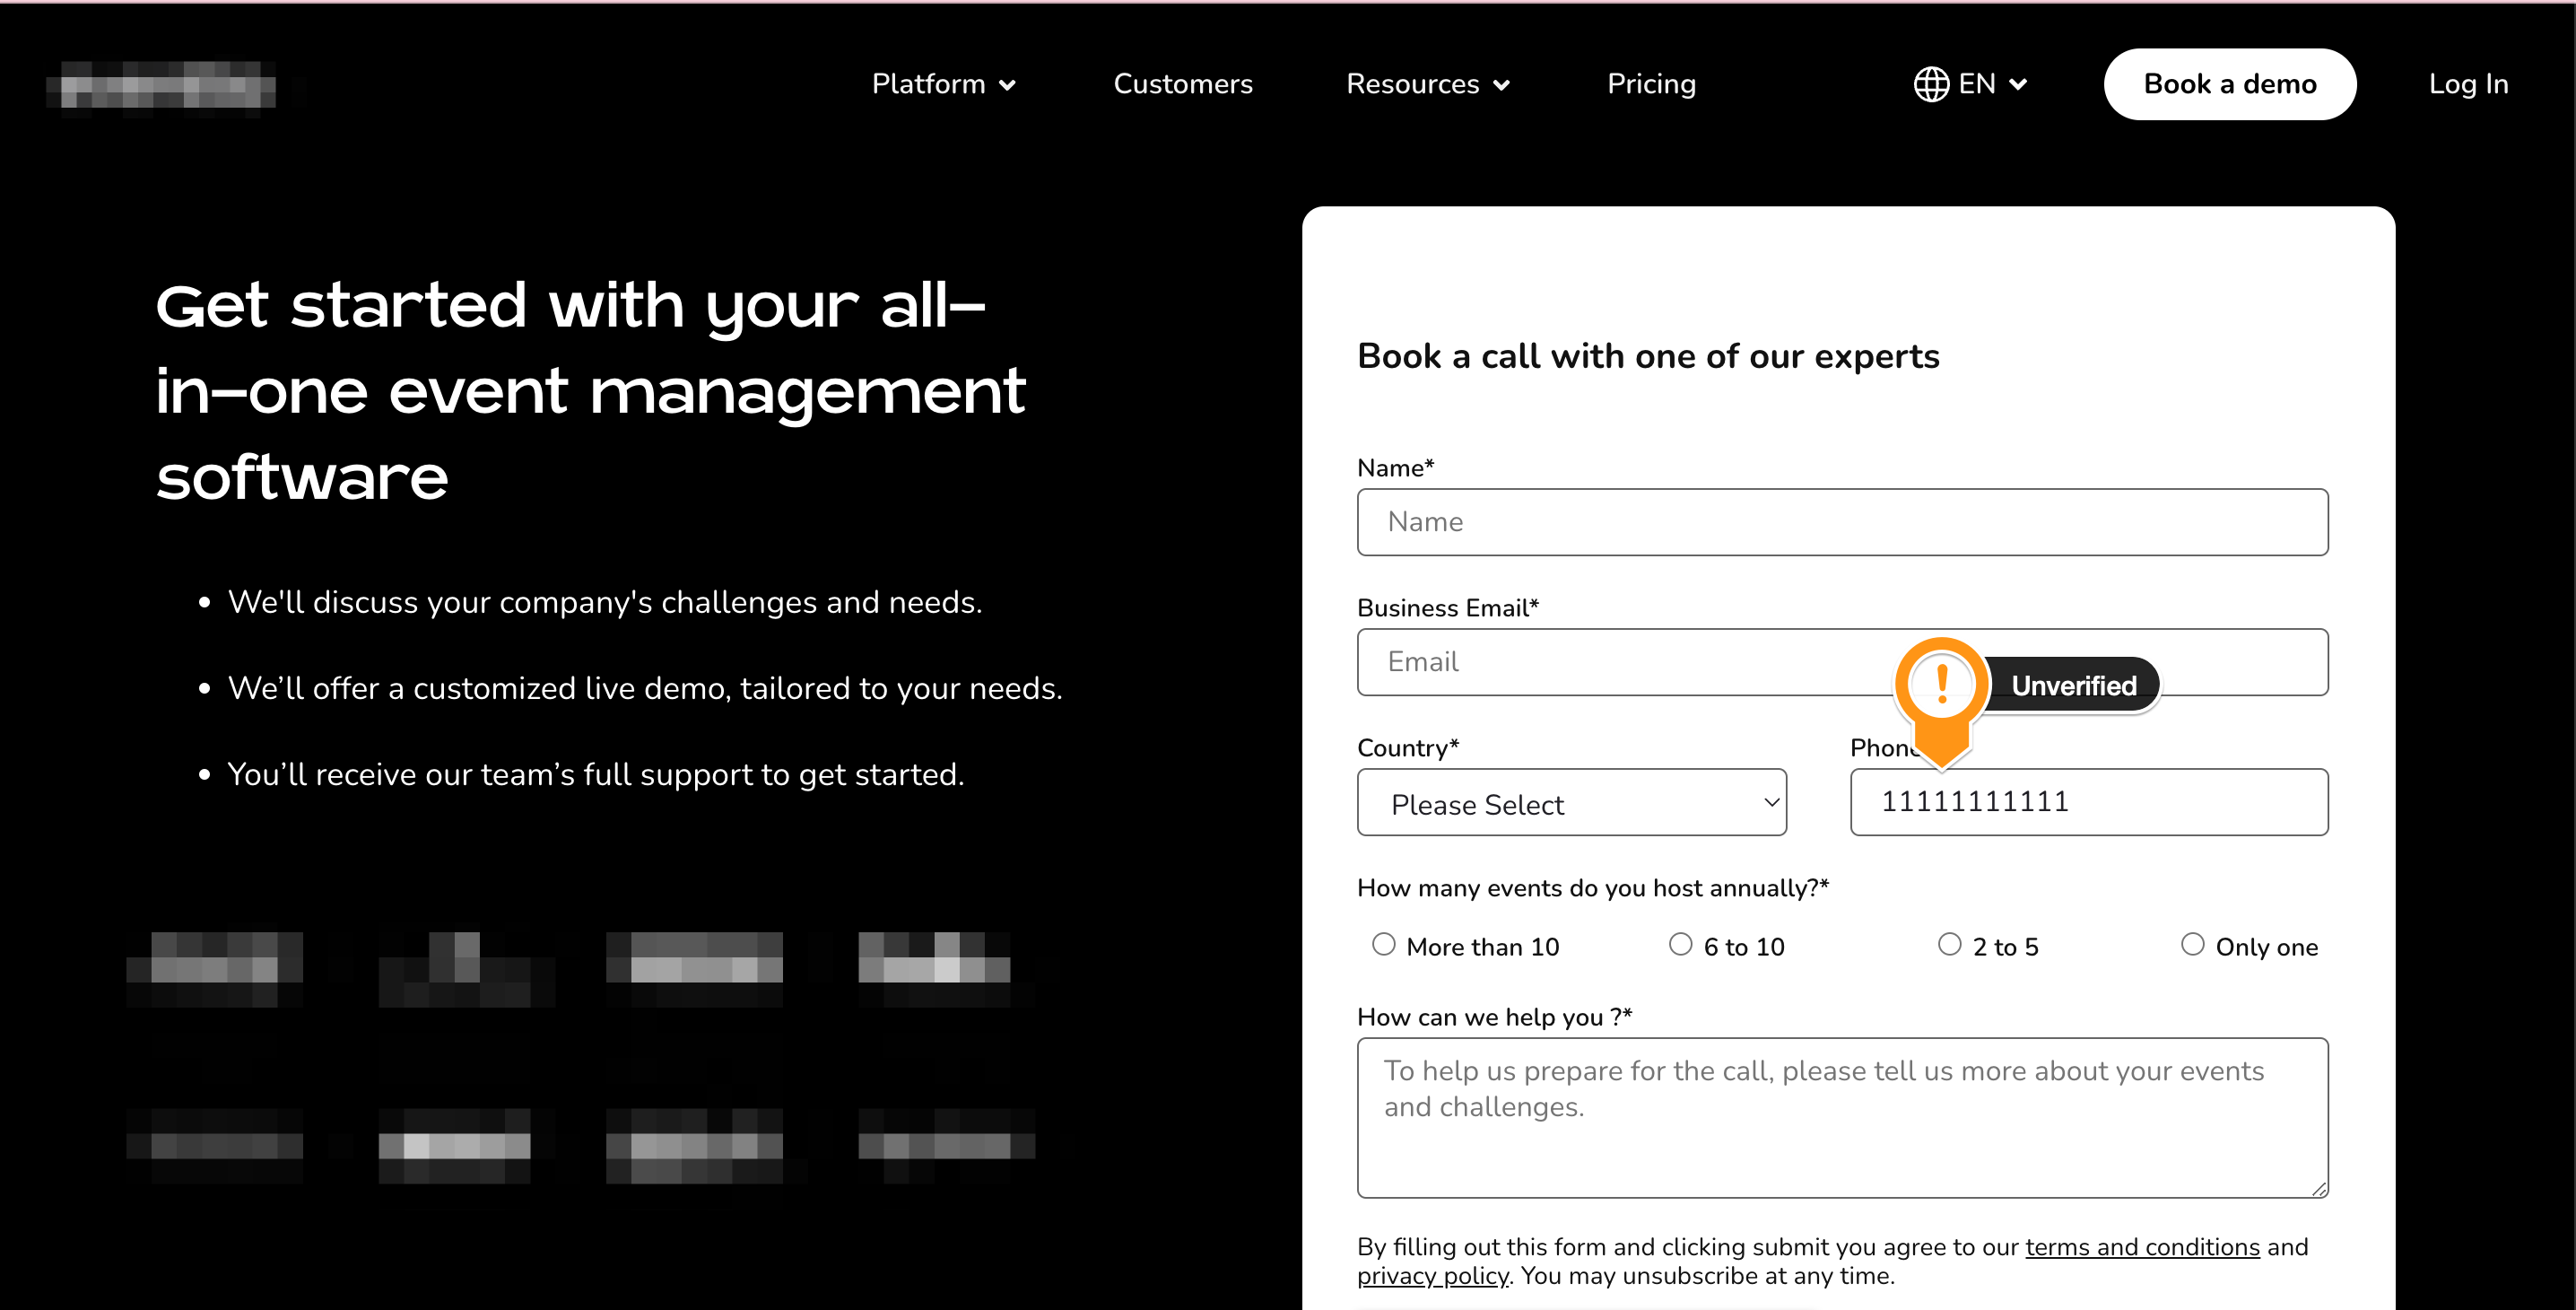
- The phone number input field enhanced with WhatsAuth validation

- The WhatsAuth verification modal that pops up when the user clicks to verify their number

- The verified phone number collected within the form
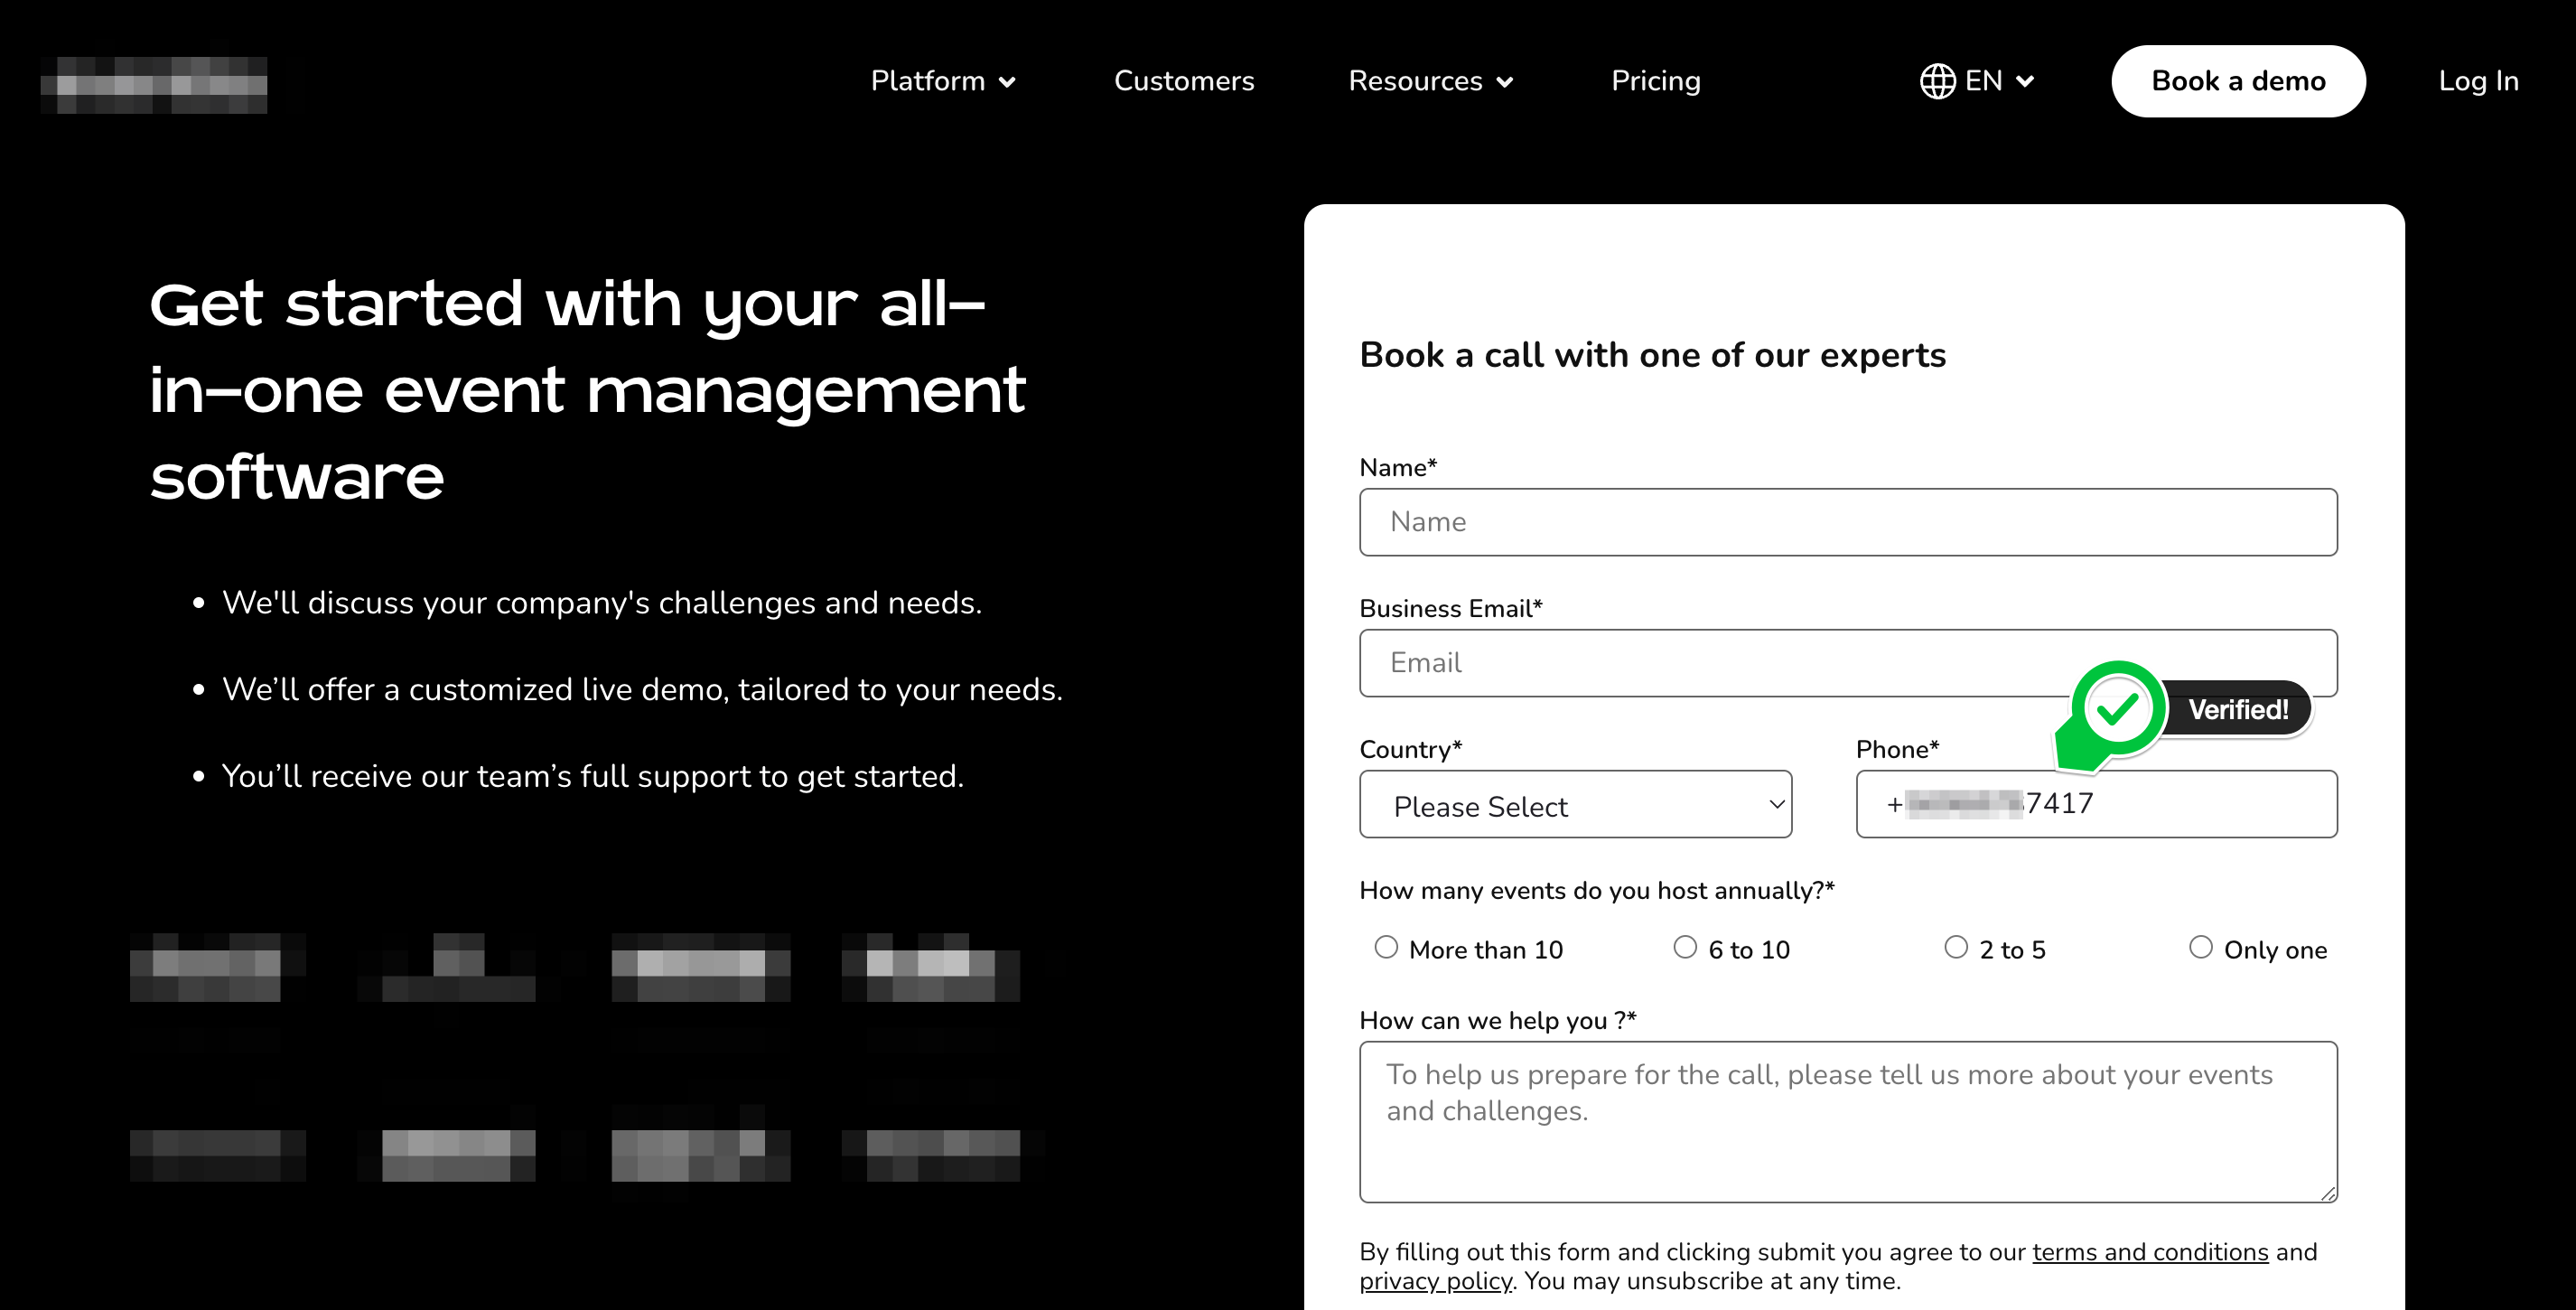
This visual representation helps to illustrate how seamlessly the WhatsAuth Form Validator integrates with your existing form, providing a user-friendly interface for phone number verification without disrupting the overall form design.